How to make the best time-lapse video - Part 3

Time-lapse is simple to do and the advances in technology such as within mobile phones puts it in reach of most people. It's only when you want to make a professional time-lapse video that things need to be more considered.
So if you are reading this I'll make the assumption that you’ve already looked at Parts 1 and 2 and are now ready to think about where things go from here. To find out more about what we know in regard to the final steps required to make a professional time-lapse video..read on.
Install a unit
There is no ‘one right way’ to do this, because wherever you are - every location presents unique challenges. However there are some ways in which to be more safe and more secure...how much is up to you. Things you should consider are:
How and where is your unit mounted? If you are using a simple tripod mount this still requires your thoughts when it comes to secure and stable.
To secure a tripod from movement we use weights loaded onto the base of the tripod legs or we use rope/chain tied tightly from the legs onto secure fixings nearby to secure and immobilize it.
Assess your position for weather impact and take the necessary steps required to minimise weather effect.
Guard rails and hazard tape used around the unit can also help to highlight its existence. This is done in an effort to make sure the tripod mount does not get bumped or moved accidentally.
If you require scaffolding or plan on using a local asset such as a lamppost, find out who is responsible for them and seek their permission to do so.
Apart from permission to use scaffolding or a local asset, you will also need official evidence of ‘safe build certification’.
Public Indemnity insurance is also a good idea and should be considered alongside and just as important as a detailed hazard assessment for the job you are undertaking.

Delivering maintenance
Time-lapse set ups are notoriously very fragile. That's because you're asking so many electronic parts to work together often under extreme weather conditions and in industrially hostile environments and continuously over long periods of time. It's important therefore that you quickly spot when things go wrong and fix things asap in order to not lose massive chunks of data.
We have monitored in two ways.
Visiting the unit each day is the first way. This is an ineffective method and is usually attempted only when remote monitoring is not available. On long running and distant projects it quickly becomes not viable. We have also done this monthly. However this led to many sleepless and stressful nights between visits. You are always asking yourself Did it stop just after the visit and you're now losing a month of vital data ? Again - still not the most effective way to monitor your time-lapse unit nut we have done it on projects that lasted years.

Remote monitoring is the second way. This is ideal when you operate a time-lapse unit. However it's more involved and requires more effort to make it happen. Use an internet connection software such as VNC (that's what we use) and you will be able to see the output of the camera at any time of the day and from wherever you are located.
We have VNC installed on laptops, main desk computers, mobile phones and lots more, allowing us to check things at least three times a day and then resolve 95% of any issues remotely through the time-lapse software ‘Dragon Frame’ we discussed in Part 2.

Producing product
These are the file/files you will give to the client when the job is done. They should knock their socks off your client, be better than what was expected and be something you are proud to show others when looking for new business. Here are some things you can do to get there.
Editing
Don’t leave things in your video that are not going to engage your clients and their audience. Take out the time periods where nothing is happening. This includes any nighttime and all weekends when nobody is working on the job. They provide no new information to an audience, extend the running time of your video and are often boring for a viewer to watch.
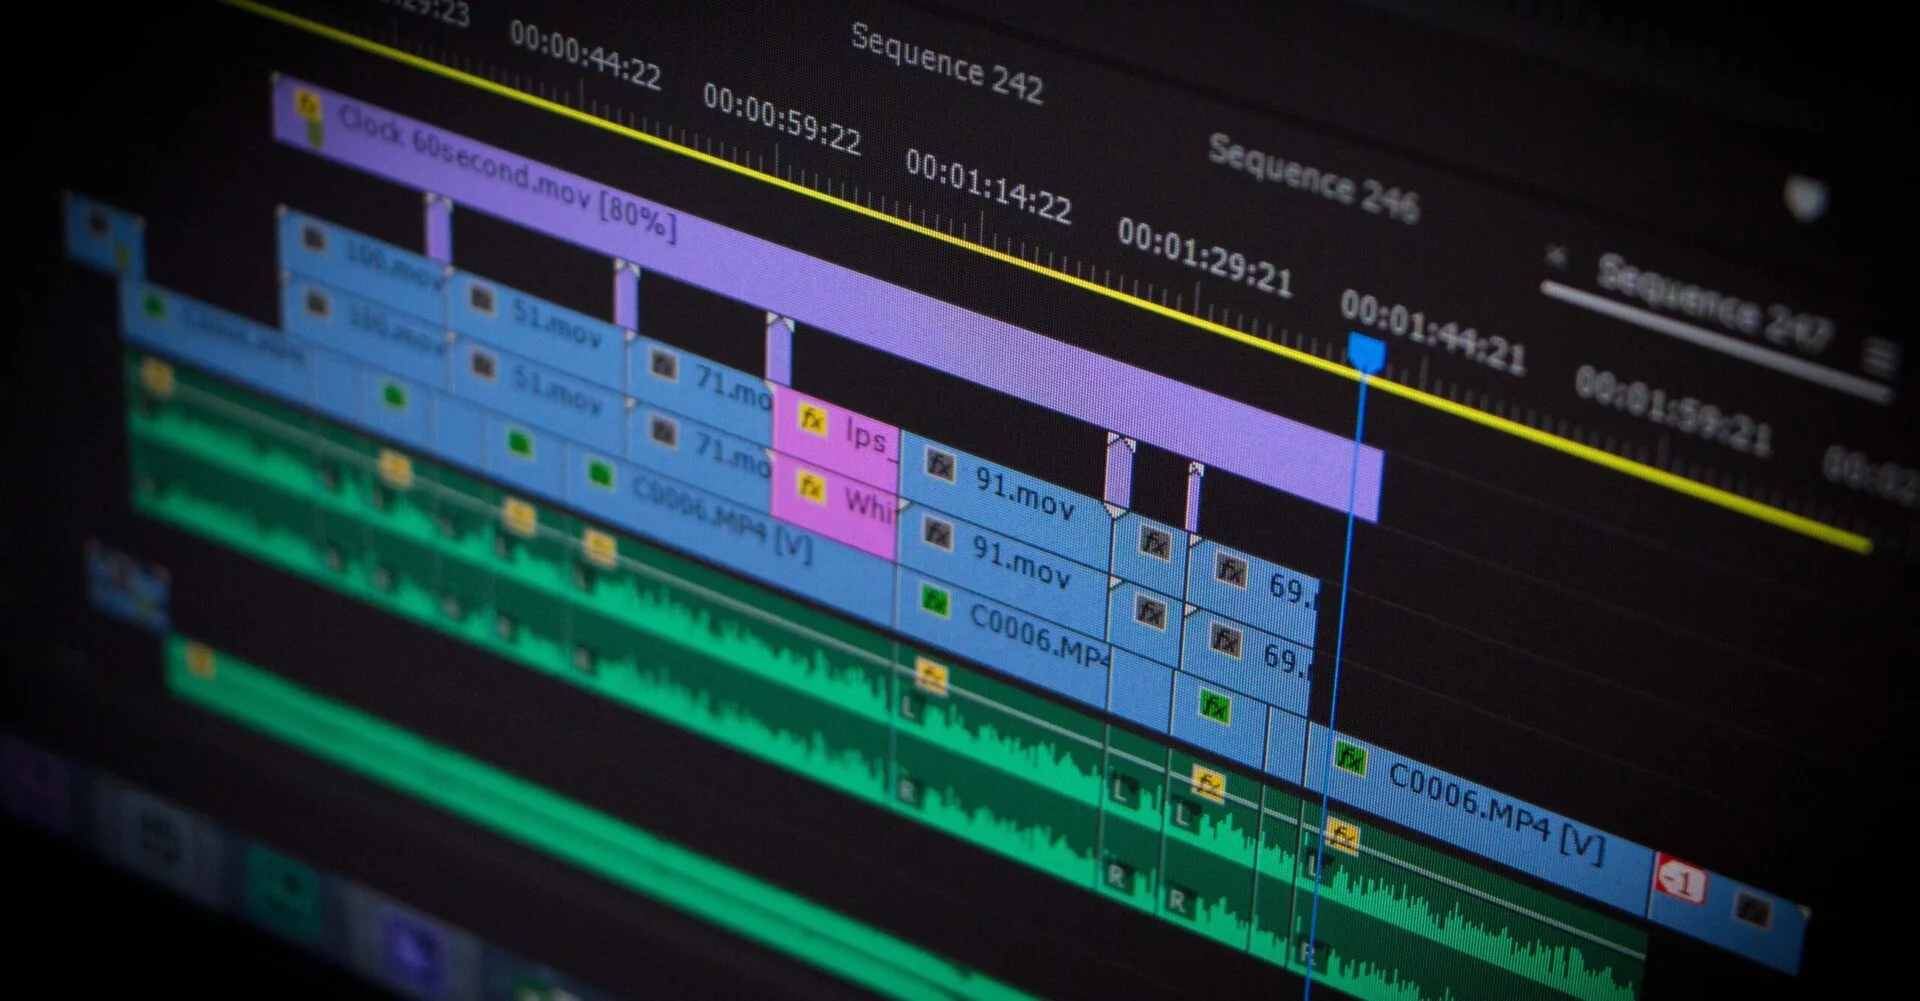
Grading
As the exposure and weather conditions will have changed constantly over the time of the filming it’s important that you consider reducing the amount of bright/dark flashing these changes impose on your video. It's not easy and is time consuming but results in a more professional product.

Music
This always helps when viewing a time-lapse video. Make sure you are globally cleared for any copyright issues that your music may have and pick a track that the client likes. It should emphasize the atmosphere and energy of the project you have been filming and should not distract your audience while they watch your time-lapse.
Well that's all for Time-lapse just now and we hope this small series has helped you.

If you’d like to see the time-lapse work we have delivered for others, check out the Time-lapse page of our website. If you have any questions, e-mail us at louise@lamedia.co.uk or give us a call on 0131 622 0220.
Well thats it for time-lapse but we hope you will enjoy our next blog... we think it's very exciting - 10 Things you should know for a New Drone Set-Up in 2021.