Time-lapse is simple to do and the advances in technology such as within mobile phones puts it in reach of most people. It's only when you want to make a professional time-lapse video that things need to be more considered.
So if you are reading this I'll make the assumption that you’ve already looked at Parts 1 and 2 and are now ready to think about where things go from here. To find out more about what we know in regard to the final steps required to make a professional time-lapse video..read on.
Install a unit
There is no ‘one right way’ to do this, because wherever you are - every location presents unique challenges. However there are some ways in which to be more safe and more secure...how much is up to you. Things you should consider are:
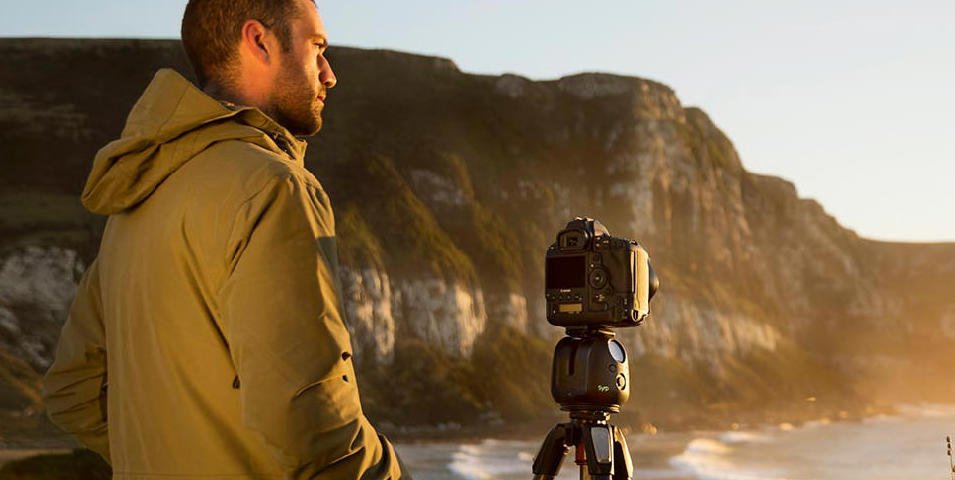
How and where is your unit mounted? If you are using a simple tripod mount this still requires your thoughts when it comes to secure and stable.
To secure a tripod from movement we use weights loaded onto the base of the tripod legs or we use rope/chain tied tightly from the legs onto secure fixings nearby to secure and immobilize it.
Assess your position for weather impact and take the necessary steps required to minimise weather effect.
Guard rails and hazard tape used around the unit can also help to highlight its existence. This is done in an effort to make sure the tripod mount does not get bumped or moved accidentally.
If you require scaffolding or plan on using a local asset such as a lamppost, find out who is responsible for them and seek their permission to do so.
Apart from permission to use scaffolding or a local asset, you will also need official evidence of ‘safe build certification’.
Public Indemnity insurance is also a good idea and should be considered alongside and just as important as a detailed hazard assessment for the job you are undertaking.

Delivering maintenance
Time-lapse set ups are notoriously very fragile. That's because you're asking so many electronic parts to work together often under extreme weather conditions and in industrially hostile environments and continuously over long periods of time. It's important therefore that you quickly spot when things go wrong and fix things asap in order to not lose massive chunks of data.
We have monitored in two ways.
Visiting the unit each day is the first way. This is an ineffective method and is usually attempted only when remote monitoring is not available. On long running and distant projects it quickly becomes not viable. We have also done this monthly. However this led to many sleepless and stressful nights between visits. You are always asking yourself Did it stop just after the visit and you're now losing a month of vital data ? Again - still not the most effective way to monitor your time-lapse unit nut we have done it on projects that lasted years.

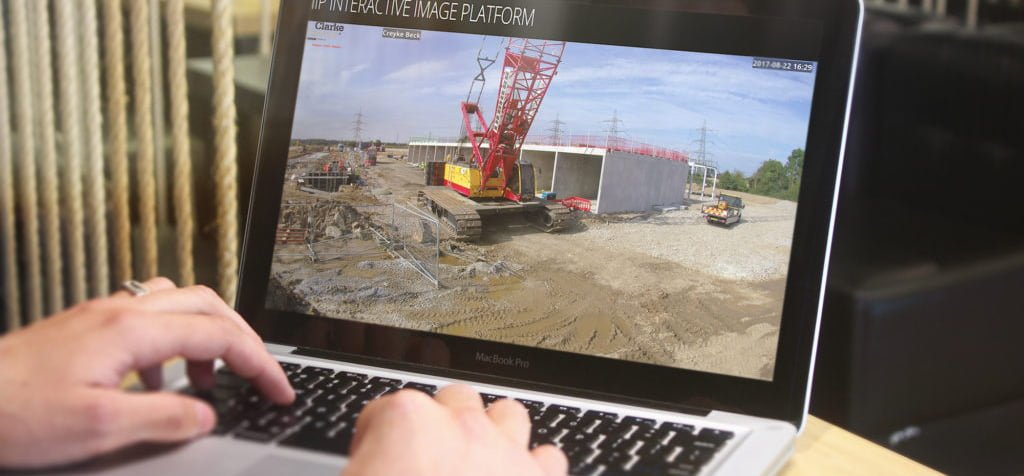
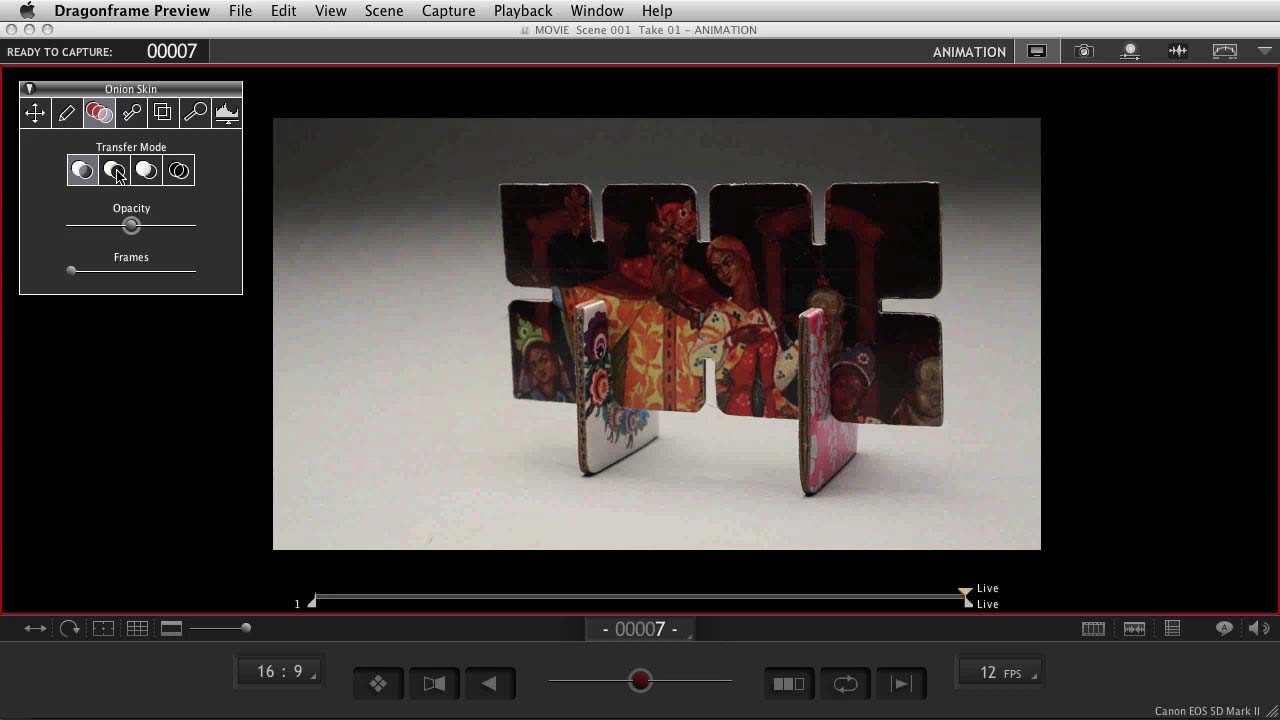
Remote monitoring is the second way. This is ideal when you operate a time-lapse unit. However it's more involved and requires more effort to make it happen. Use an internet connection software such as VNC (that's what we use) and you will be able to see the output of the camera at any time of the day and from wherever you are located.
We have VNC installed on laptops, main desk computers, mobile phones and lots more, allowing us to check things at least three times a day and then resolve 95% of any issues remotely through the time-lapse software ‘Dragon Frame’ we discussed in Part 2.
Producing product
These are the file/files you will give to the client when the job is done. They should knock their socks off your client, be better than what was expected and be something you are proud to show others when looking for new business. Here are some things you can do to get there.
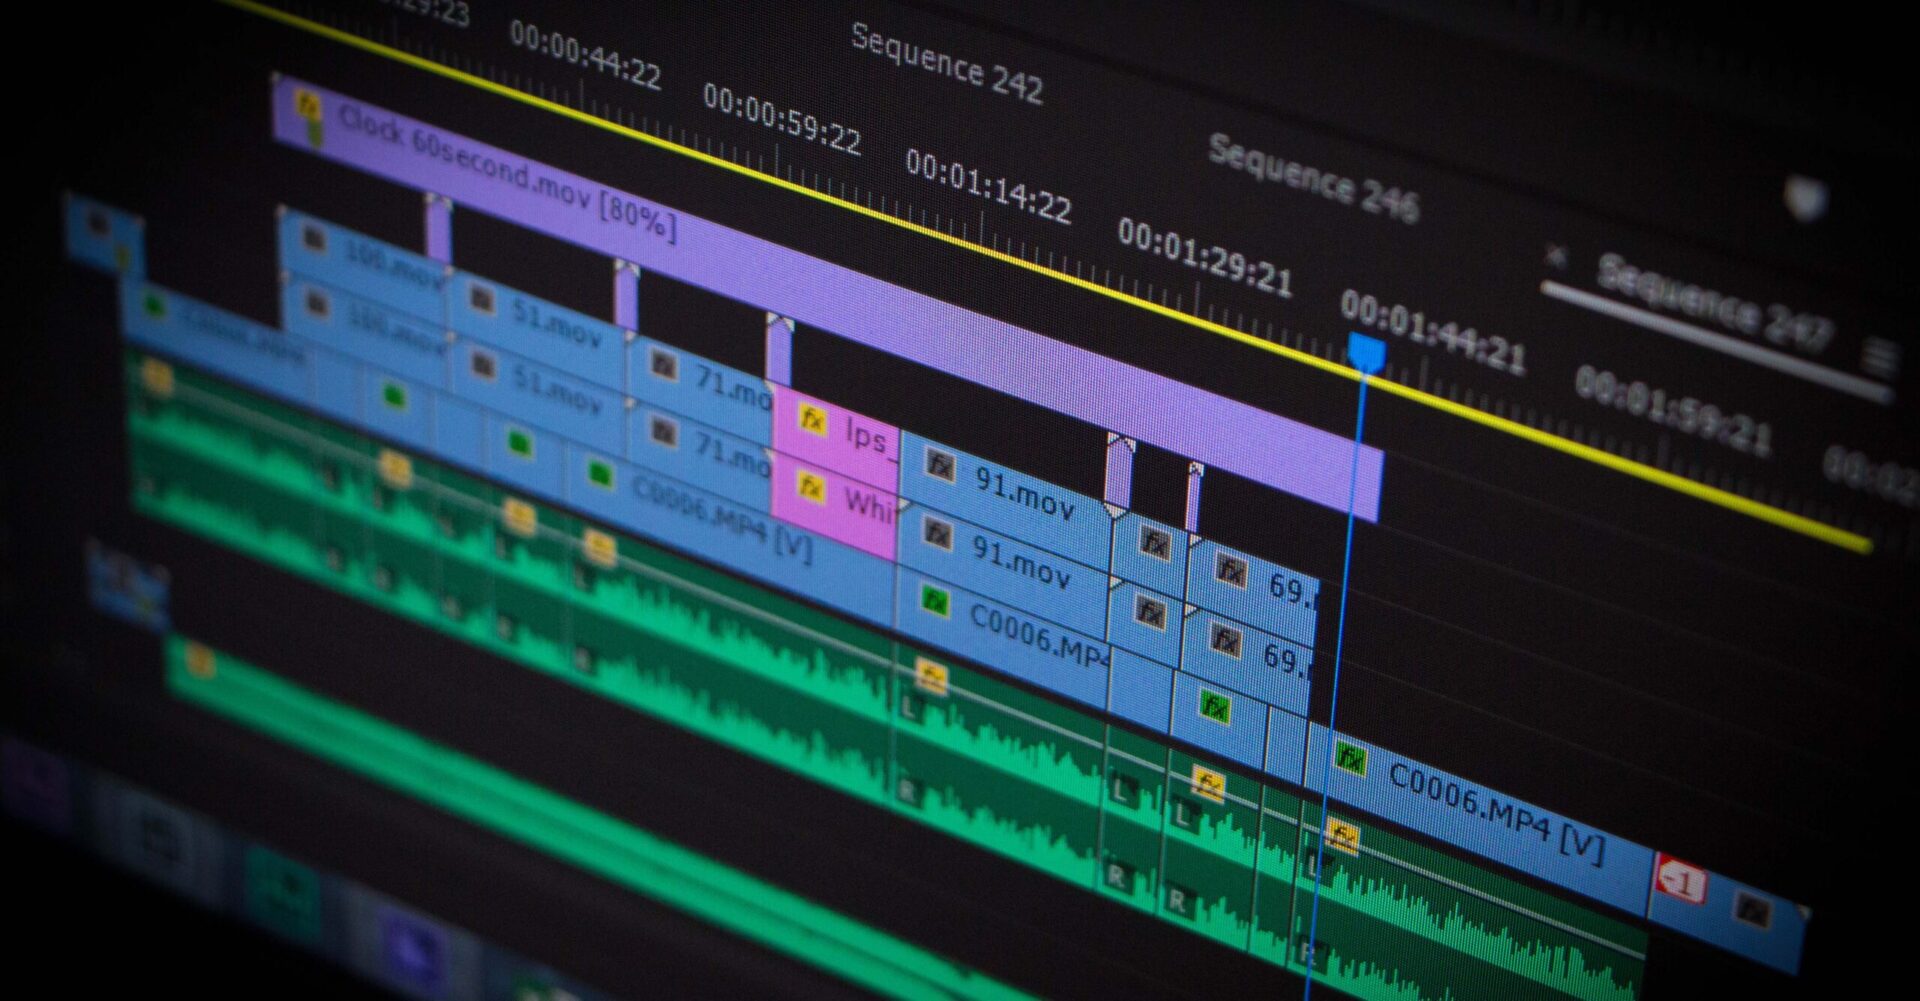
Editing
Don’t leave things in your video that are not going to engage your clients and their audience. Take out the time periods where nothing is happening. This includes any nighttime and all weekends when nobody is working on the job. They provide no new information to an audience, extend the running time of your video and are often boring for a viewer to watch.
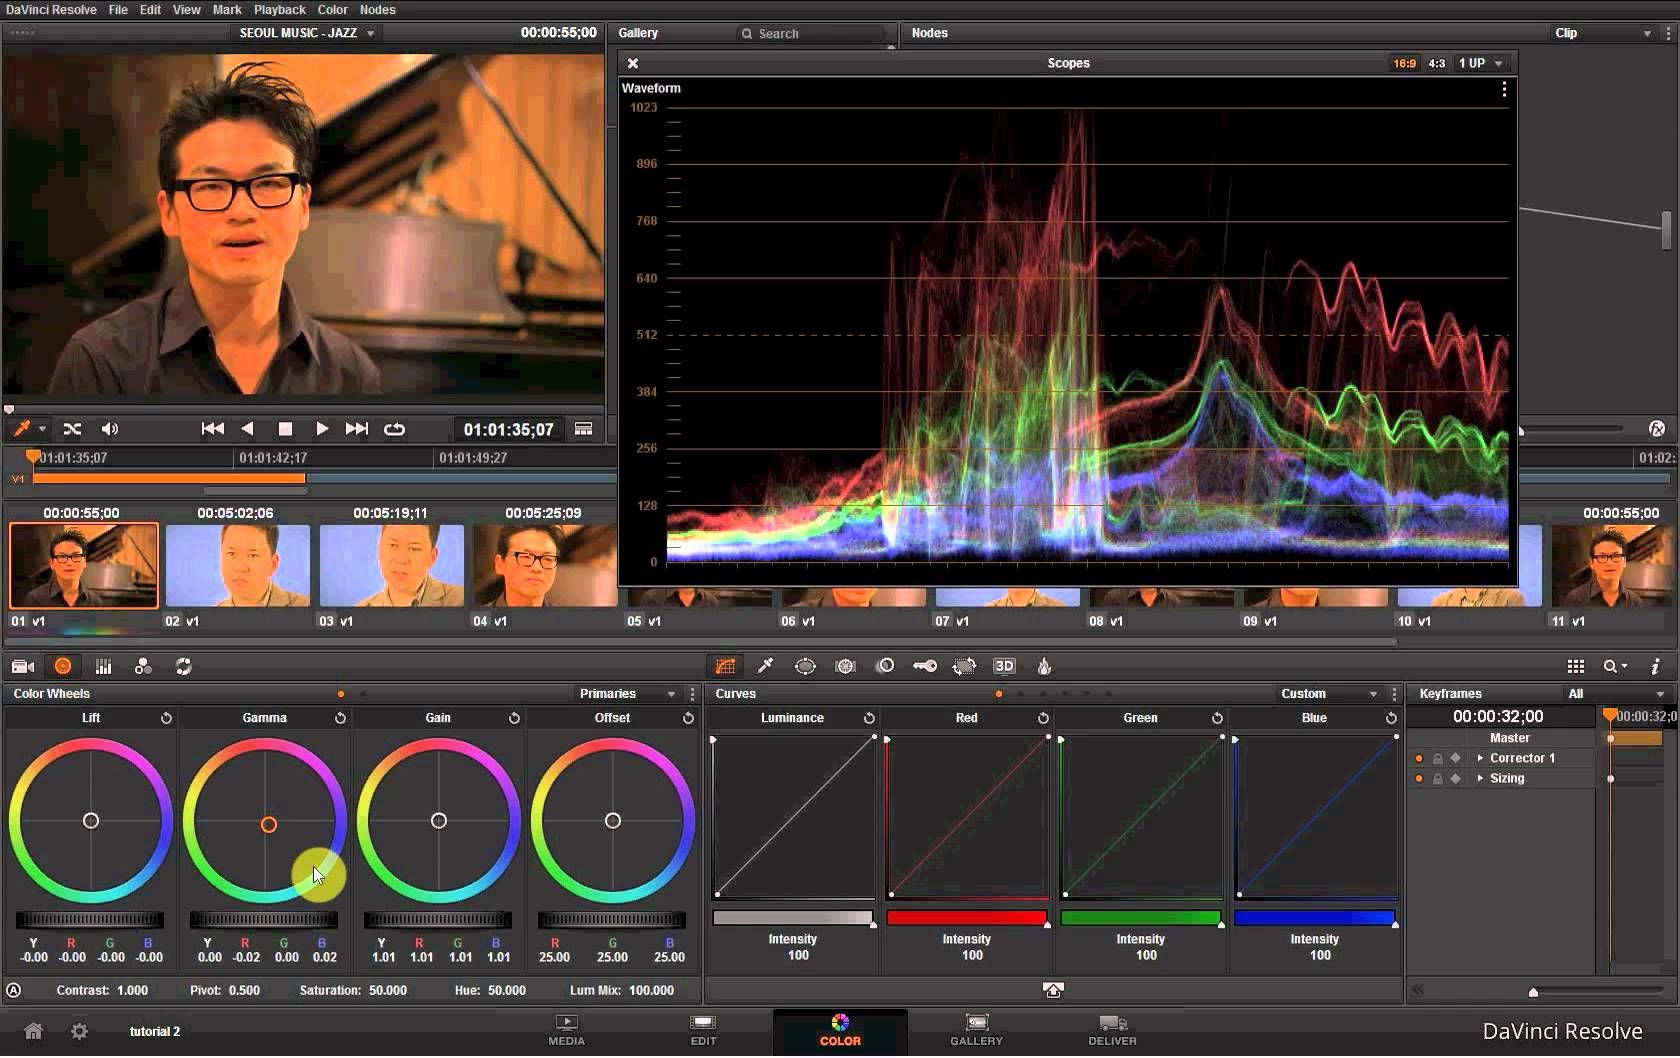
Grading
As the exposure and weather conditions will have changed constantly over the time of the filming it’s important that you consider reducing the amount of bright/dark flashing these changes impose on your video. It's not easy and is time consuming but results in a more professional product.
Music
This always helps when viewing a time-lapse video. Make sure you are globally cleared for any copyright issues that your music may have and pick a track that the client likes. It should emphasize the atmosphere and energy of the project you have been filming and should not distract your audience while they watch your time-lapse.
Well that's all for Time-lapse just now and we hope this small series has helped you.
If you’d like to see the time-lapse work we have delivered for others, check out the Time-lapse page of our website. If you have any questions, e-mail us at louise@lamedia.co.uk or give us a call on 0131 622 0220.
Well thats it for time-lapse but we hope you will enjoy our next blog... we think it's very exciting - 10 Things you should know for a New Drone Set-Up in 2021.
The equipment and how to build your time-lapse unit
While there are many commercial options for ‘off the shelf’ ready made time-lapse boxes - at LA Media we always build our own. We looked at the commercial options available but found them to be pricey, not fit for our purpose and requiring modification to make things work the way we wanted....so we decided it would be easier, quicker, cheaper and more effective to build our own.
Every box will be different so I’m not going into specific construction details here but I am going to go into the details, assets and considerations that we use so that you can as well.
The Box
Adapt for purpose.... Have you got anything lying around that you can reuse? We found an old Peli case that was doing nothing useful and decided that would be the starting point for our box.
We cut a hole in the front and fitted a small window of glass for the camera to look through. NB We had to pay a Glazier to cut the glass to the right shape and size - it was our first expense but a tiny one.
Some old bits of timber we found were then repurposed for our interior shelving.
We drilled some access holes into the Peli case. These were for our mains cable, power supply and the 4 aerials extending from our router.
On the back of the Peli case we fitted three brackets (which we had to buy - very cheap). These were to function as our clamps for when we wanted to mount the box unit onto scaffolding.
Finally - we weatherproofed the window and any holes we had made in the Peli case. Winter-spring, rain-shine the box has to be dry on the inside because of the electrical and fragile nature of the equipment that was going to operate inside it for a long time.

This process takes a couple of days to complete as we spend a good deal of time discussing the logistical layout of equipment inside the box - before we started on building the box itself.
What goes inside the Box
We strongly advise that you DO NOT re-purpose or adapt any old tech-equipment. Everything you are going to put inside the box should be hooked up, tested and proven to be reliable before you decide to install it into your ‘beautifully’ crafted box.
Camera and lens
Make sure the camera and software of choice integrate to run time-lapse and check you have appropriate input/output connection to the computer you will need to install. We use Canon cameras and Mac Mini computers and are connected through HDMI.
The camera is best mounted onto a ball joint and then fixed onto an internal shelf. This ball joint mount allows for fine tuning adjustments once the camera is in place.
Use your camera's mains power adapter (usually comes with the camera) to ensure that the camera can be connected to the mains power supply that you will run into the box.
Your lens should be appropriate for the field of view you want to see and aligned with the window you've already made in the Peli case.
Computer
This is where your time-lapse software of choice (we use Dragon Motion) will be installed. It drives the time-lapse, all camera activity and enables your remote connectivity through software such as VNC.
Photos from your time-lapse should be stored on the computer's hard drive (do not use a flash card in the camera - not enough space) and when the computer's memory is nearly full, you need to perform a data download/transfer to free up more space.
Router
The router is how you make a G4 connection and it should come with a unique stand alone IP address. It will require a SIM contract like any mobile telephone but is worth the cost as this is how you will connect remotely to your time-lapse.
Multi-point plug board
The power board for the unit (we use a four point, 13 amp, surge protected plug board) will be inside the box and it’s cable will run to the outside through one of the holes you have already drilled.
NB most construction sites operate an electrical distribution of 110V for health and safety reasons so always check the power supply is suitable for your needs.
health and safety is critical so put a weather protected plug on the outside end of your power cable and make sure that whatever it plugs into is also weather protected. It's a good idea to follow any cable supply back to the source where you will check that the fuse rating it is protected by is appropriate and secure and weather protected.
Final Touches
Clean your box window inside and out and carefully wipe your camera lens
Pack some bubble wrap around all the elements you have placed inside your box. This helps keep things secure and provides some thermal heat for the unit for when things get really cold.
Close and secure the door of the box and then....you are ready to go.
The last steps in making a professional time-lapse are:
1. How to install a unit
2. Delivering the maintenance
3. Produce the final product
So keep an eye open for our Part Three in this time-lapse series where we will get into all that..
If you’d like to see the time-lapse work we have delivered for others, check out the rest of the website and if you have any questions, e-mail us at louise@lamedia.co.uk or give us a call on 0131 622 0220.
LA Media has been delivering professional time-lapse video since 2000 and now has 20 years of proven track record with construction, events, festivals, small companies and massive industrial enterprises, delivering for them a range of time-lapse videos that successfully covered days, months and years.
This is the first in a series where we will take you step by step through to finished product. So if you're thinking about time-lapse ….let's find out ‘some’ of what you need to know before you even start shooting.
First contact is critical to your success.... it's the moment when you speak to a potential client and you need to convince them you are capable of doing the job while at the same time establishing some key information for yourself.
1. How long will the project last?
2. Where is it located?
3. Lots of other details
If you ask loads of questions you will always have a better chance of understanding what kind of project you are looking at and in turn this will help you determine the best way to approach your time-lapse.
Installation time-lapse
This is a traditional method normally used for projects lasting months - to years. It requires advanced planning, preparation, coordination with others and finally a remote monitoring system to ensure that observation of the unit can be done daily and that maintenance of the unit is immediate.

Manned time-lapse
A much easier option to put into action and is often used for projects measured in days and sometimes even hours. It's a self-contained, short term option that arrives on site with a trained professional and is then removed at the end of the day when the job is done.

Location?
The location of the time-lapse is likely to be Inner City or Countryside Remote and each brings its benefits but also its challenges. It’s important that you understand how each affects your time-lapse planning and preparation.
Inner City
The best thing about an inner city location is that mains power is often readily available to run the time-lapse unit and the WIFI access required to reach a static IP for remote monitoring is usually there as well.
The principal drawback to an Inner City installation is the security of any time-lapse unit. Theft and vandalism in the city is more likely to occur and nobody wants the implicit costs involved or the loss of client data (the project photos).

Countryside Remote
One key advantage about this type of location is that there is less likelihood of theft or vandalism.
However it is often the case that mains power is not readily available and wifi access can be very poor. This may result in having only battery power to run the time-lapse which also means no remote monitoring.
This is a situation which is quite nerve wracking as seconds after you start running the time-lapse the camera might stop and you only find out that its not been running when you next visit the installation a month later.

Lots of other details
Things you should ask your client about are:
Point of contact - who is the person on site that will coordinate with you to ensure you are a smooth fit into the overall project?
Health and Safety - When can you complete a health and safety induction so that you can legally operate on the site?
PPE - Will your personnel be required to wear PPE?
Power - Is there access to mains power to run the camera unit. Will it be an uninterruptible source and has it been approved and checked by a professional electrician before use?
Internet Access - Is there access to a Static IP address - required for a reliable connection if you are planning to monitor the unit remotely?
Point of View - what do they want your camera to see and might it become redundant as things develop over time?
Client Monitoring - Do they want to monitor the timelapse on their mobile phones and other devices?
Progress films - Will they want monthly update videos over the total period of the time-lapse?
Client Stills - Do they need high resolution stills for any social media campaign they may be running?
Duration - How long do they want the final ‘end of project’ video to run?

It might seem like a lot... but the more information you can get prior to starting your time-lapse project - the better your final product will be. The next step in making a professional time-lapse is the equipment to use and how to build your time-lapse unit.
Keep an eye open for our Part Two in the series where we will get into all that...

If you’ve enjoyed what you have read, give us a call on 0131 622 0220 or drop an email to [email protected]. We are always ready to chat through your project.
Here at LA Media, we have over 10 years under our belt of creating professional large-scale time-lapse for both the web and broadcast.
From the crafting of giant sand sculptures to the creation of huge buildings, we have time-lapsed numerous projects, both manned and unmanned.
In this blog, we would like to share with you the professional time-lapse tips that we’ve gathered over the years on the various projects we’ve delivered.
Video by LA Media '2016 Time-Lapse Showreel'
Why use time-lapse?
A time-lapse video is a useful tool for companies. It allows them to showcase ongoing projects over a period of time. Not only is it a versatile marketing tool but it also acts as an archive of the project. There is something incredibly satisfying when watching two years’ worth of work come together smoothly in two minutes.
When you are making a time-lapse there is little wiggle room for mistakes. If you mess up - or the camera fails - you cannot get back the time and progression you've lost.
Say you muck up three months of construction progression footage you can’t really go back to the client and ask them for a do-over.
Simplicity is not so simple to attain!
While time-lapse may look easy, they aren’t so straightforward. It takes real skill to make something look that easy! Apps and auto time-lapse cameras are perfectly good if you are only creating a video for your own personal social media feed. However, if you are looking to show off your brand, company, or work then you will need to invest in something with much higher quality. With our handy time-lapse
Apps and auto time-lapse cameras are perfectly good if you are only creating a video for your own personal social media feed. However, if you are looking to show off your brand, company, or work then you will need to invest in something with much higher quality.
With our handy time-lapse tips, you will learn how to run a practically perfect production!

Great Expectations!
Nowadays, you can buy a time-lapse camera that is fully automatic; however, we wouldn’t recommend this, as they often don’t provide you with still photographs. Often, the resulting footage is in a low-resolution format, which can leave the client feeling underwhelmed.
Another major drawback is that you cannot remotely monitor the project with this type of camera. You will have no idea when, and if, something goes wrong until you physically go to check up on the equipment.
Basically, the risk of error is very high with this sort of camera. Despite all the new technology time-lapse is still an incredibly fragile process: you're only one glitch away from having no product.
Our five time-lapse tips ensure that you can deliver a professional quality final product
1. Don't skip the recce
An on-site recce is essential. An extra day for a recce may seem like a faff but it really helps you to establish the challenges of the project. For example, how will the project evolve in terms of size and height? Where will you place the time-lapse installation and will you need special access, security assistance or equipment e.g. cherry picker rental?
This recce ensures all costs are identified allowing you to present the client with an accurate budget for the effort involved.
2. Waterproofing
Come hell or high water, the time-lapse must prevail, so let's talk about weather-proofing. A plastic bag or an umbrella over your camera ain’t gonna cut it. You need to make your own special apparatus. This is basically customising a weatherproof box to protect your equipment.
Inside it needs to have the following: an adjustable mounting position for the camera within it, a glass frontage to allow the camera to see out yet remain protected, weather-proof access for power leads, interior fittings for 4G routers (a telephone connection) & Mac minis. Without this, you are risking the client's product and your equipment.
3. Plan Ahead
After you have the client agreement, you need to think about installing and starting the time-lapse. This process usually takes a day. Wherever the camera is perched it must be secure. Mother nature can be a fickle lady and may just throw all her might at your camera. So plan for the worst but hope for the best, and make sure it is so well secured even Zeus's thunderbolts wouldn't shift it.
4. Do the math!
Time for the maths bit...don't panic it's really simple. The next thing you have to decide is your frame rate: this is determined by the nature of what you are looking at. If it is a construction project i.e. a building, you will want one frame every ten to 15 minutes.
This is a good starting point, but you need to know how long the client wants the overall video to be. Bear in mind that video runs at 25 frames per second of video: this should help you calculate your frame rate. For example, if your client wants 5 minutes of video footage, then you need to capture 1,500 frames just to make one minute of video. Therefore, your five-minute video will require 7,500 frames in total.
On top of all that, make an allowance for frames that you won't use e.g. periods of inactivity such as night-time and weekends. If you are shooting people you need a much higher frame rate. You want people to look smooth in their movement, not like a badly animated gif, as funny as that would be. You’re looking at something like one frame every 0.5 seconds.
Still with us? Don’t panic this is a real mind buster and even in our office we always defer back to our most senior director to do the maths!
5. Get connected
Finally, start the installation on-site and make a phone call back to the base to confirm that the remote monitoring via the 4G router is working.
People often forget to check these small but crucial things. Once everyone is off-site you are pretty much snookered if you haven’t got the connection.
We hope that these time-lapse tips help you on your next shoot!
We hope you've found this blog helpful! Let us know what you think in the comments, tell us if we've missed something out.
If you enjoyed this blog don’t forget to follow us on Twitter, Facebook, and Instagram for your daily dose of media & drone chat!
Visit our website lamedia.co.uk and if you have any questions, e-mail us at [email protected] or give us a call on 0131 622 0220